
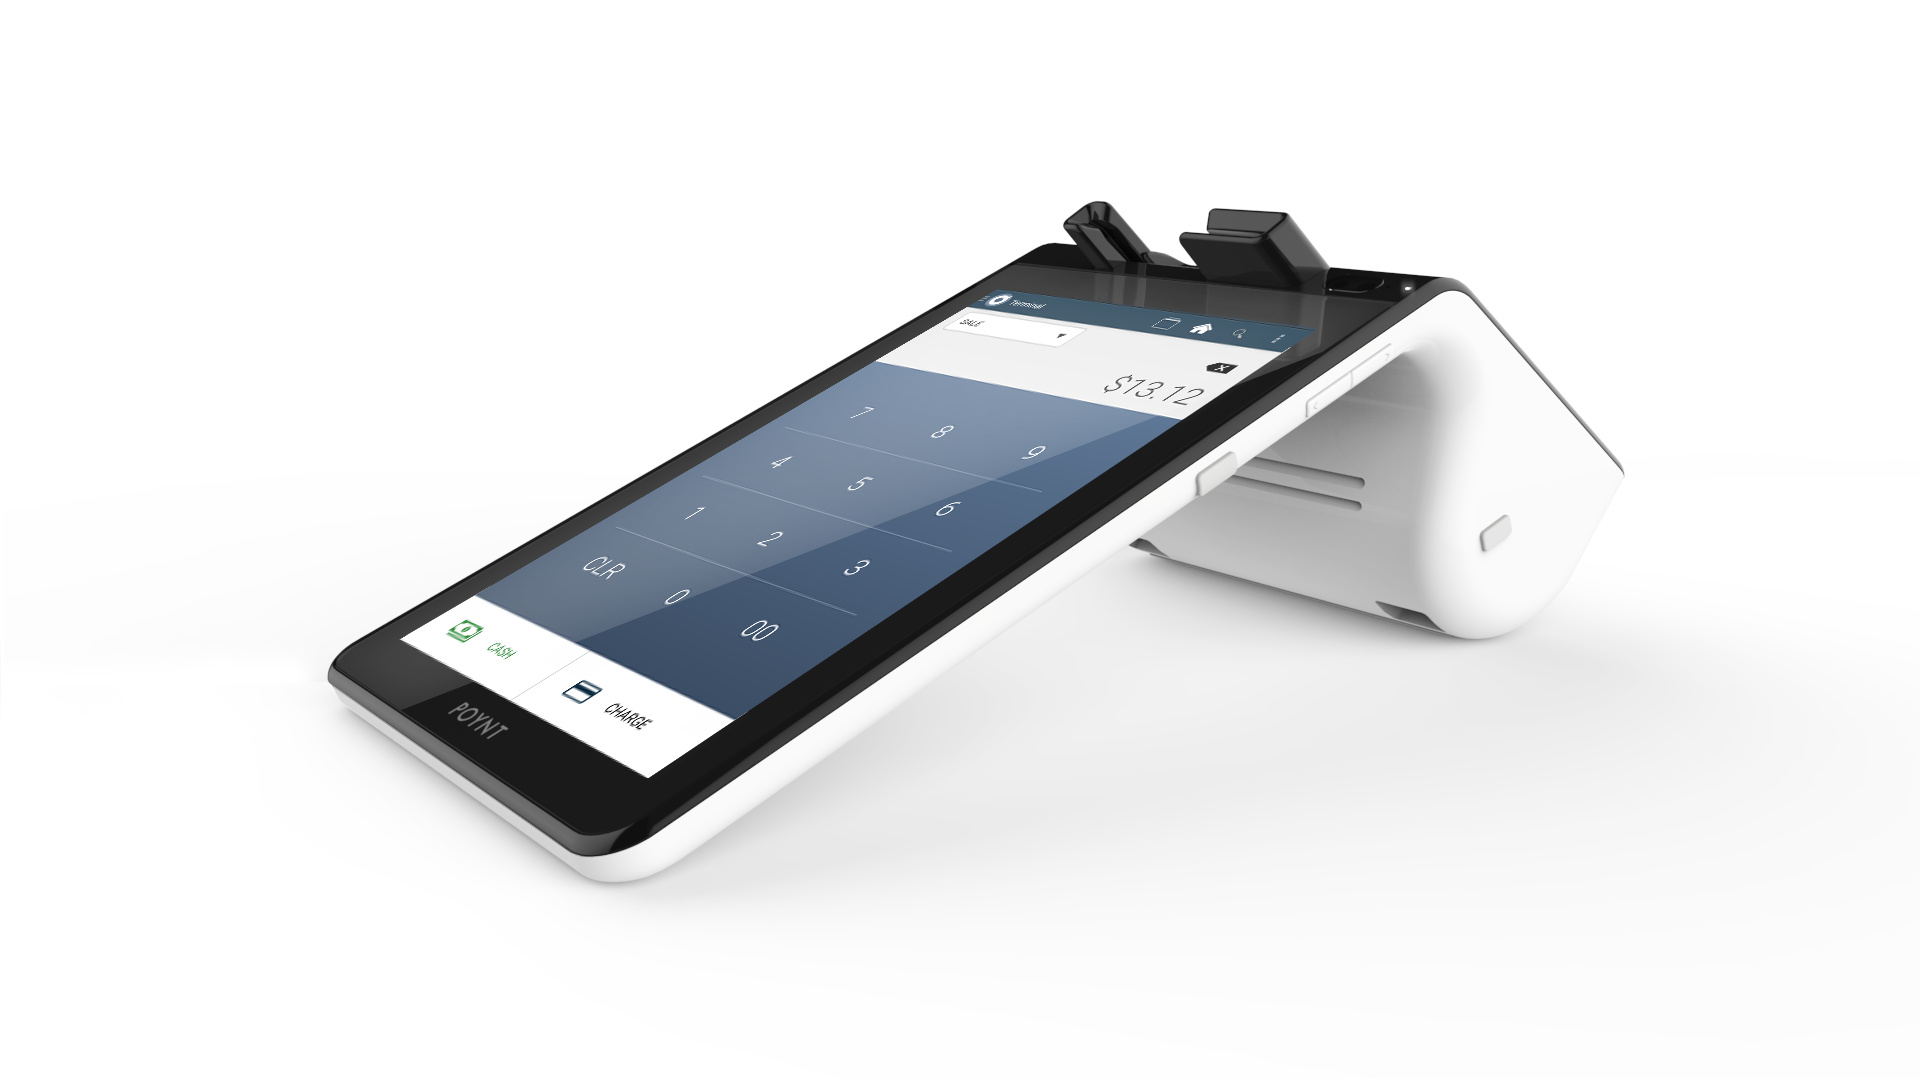
The 3G capable P61 Smart Terminal allows merchants to connect wirelessly using a cellular network.
In this article, we’ll cover the following topics. Feel free to read through it all, or skip ahead to a different section using the links below:
- Determining if your Terminal is 3G Enabled
- Inserting and Removing SIM Card
- Configuring the Mobile Network
- Confirming a Connection
If your Poynt device is 3G capable, its serial number will include a C or G instead of the usual W.
3G Enabled Device: P61S G … or P61S C
Wi-fi Only Device: P61J W …
Preparation
-
You should have a 3G Capable P61 device, SIM Card, and a sharp needle-nose tweezers on hand.
-
Follow normal activation procedure to associate the device, connecting the device to the Merchant’s bank and Poynt.net account.
-
Create and select the Terminal user. Log in.
Inserting SIM Card
- Open the printer hatch door and lay the device on its side so that the left side of the second screen is flush with a level surface (see image below)
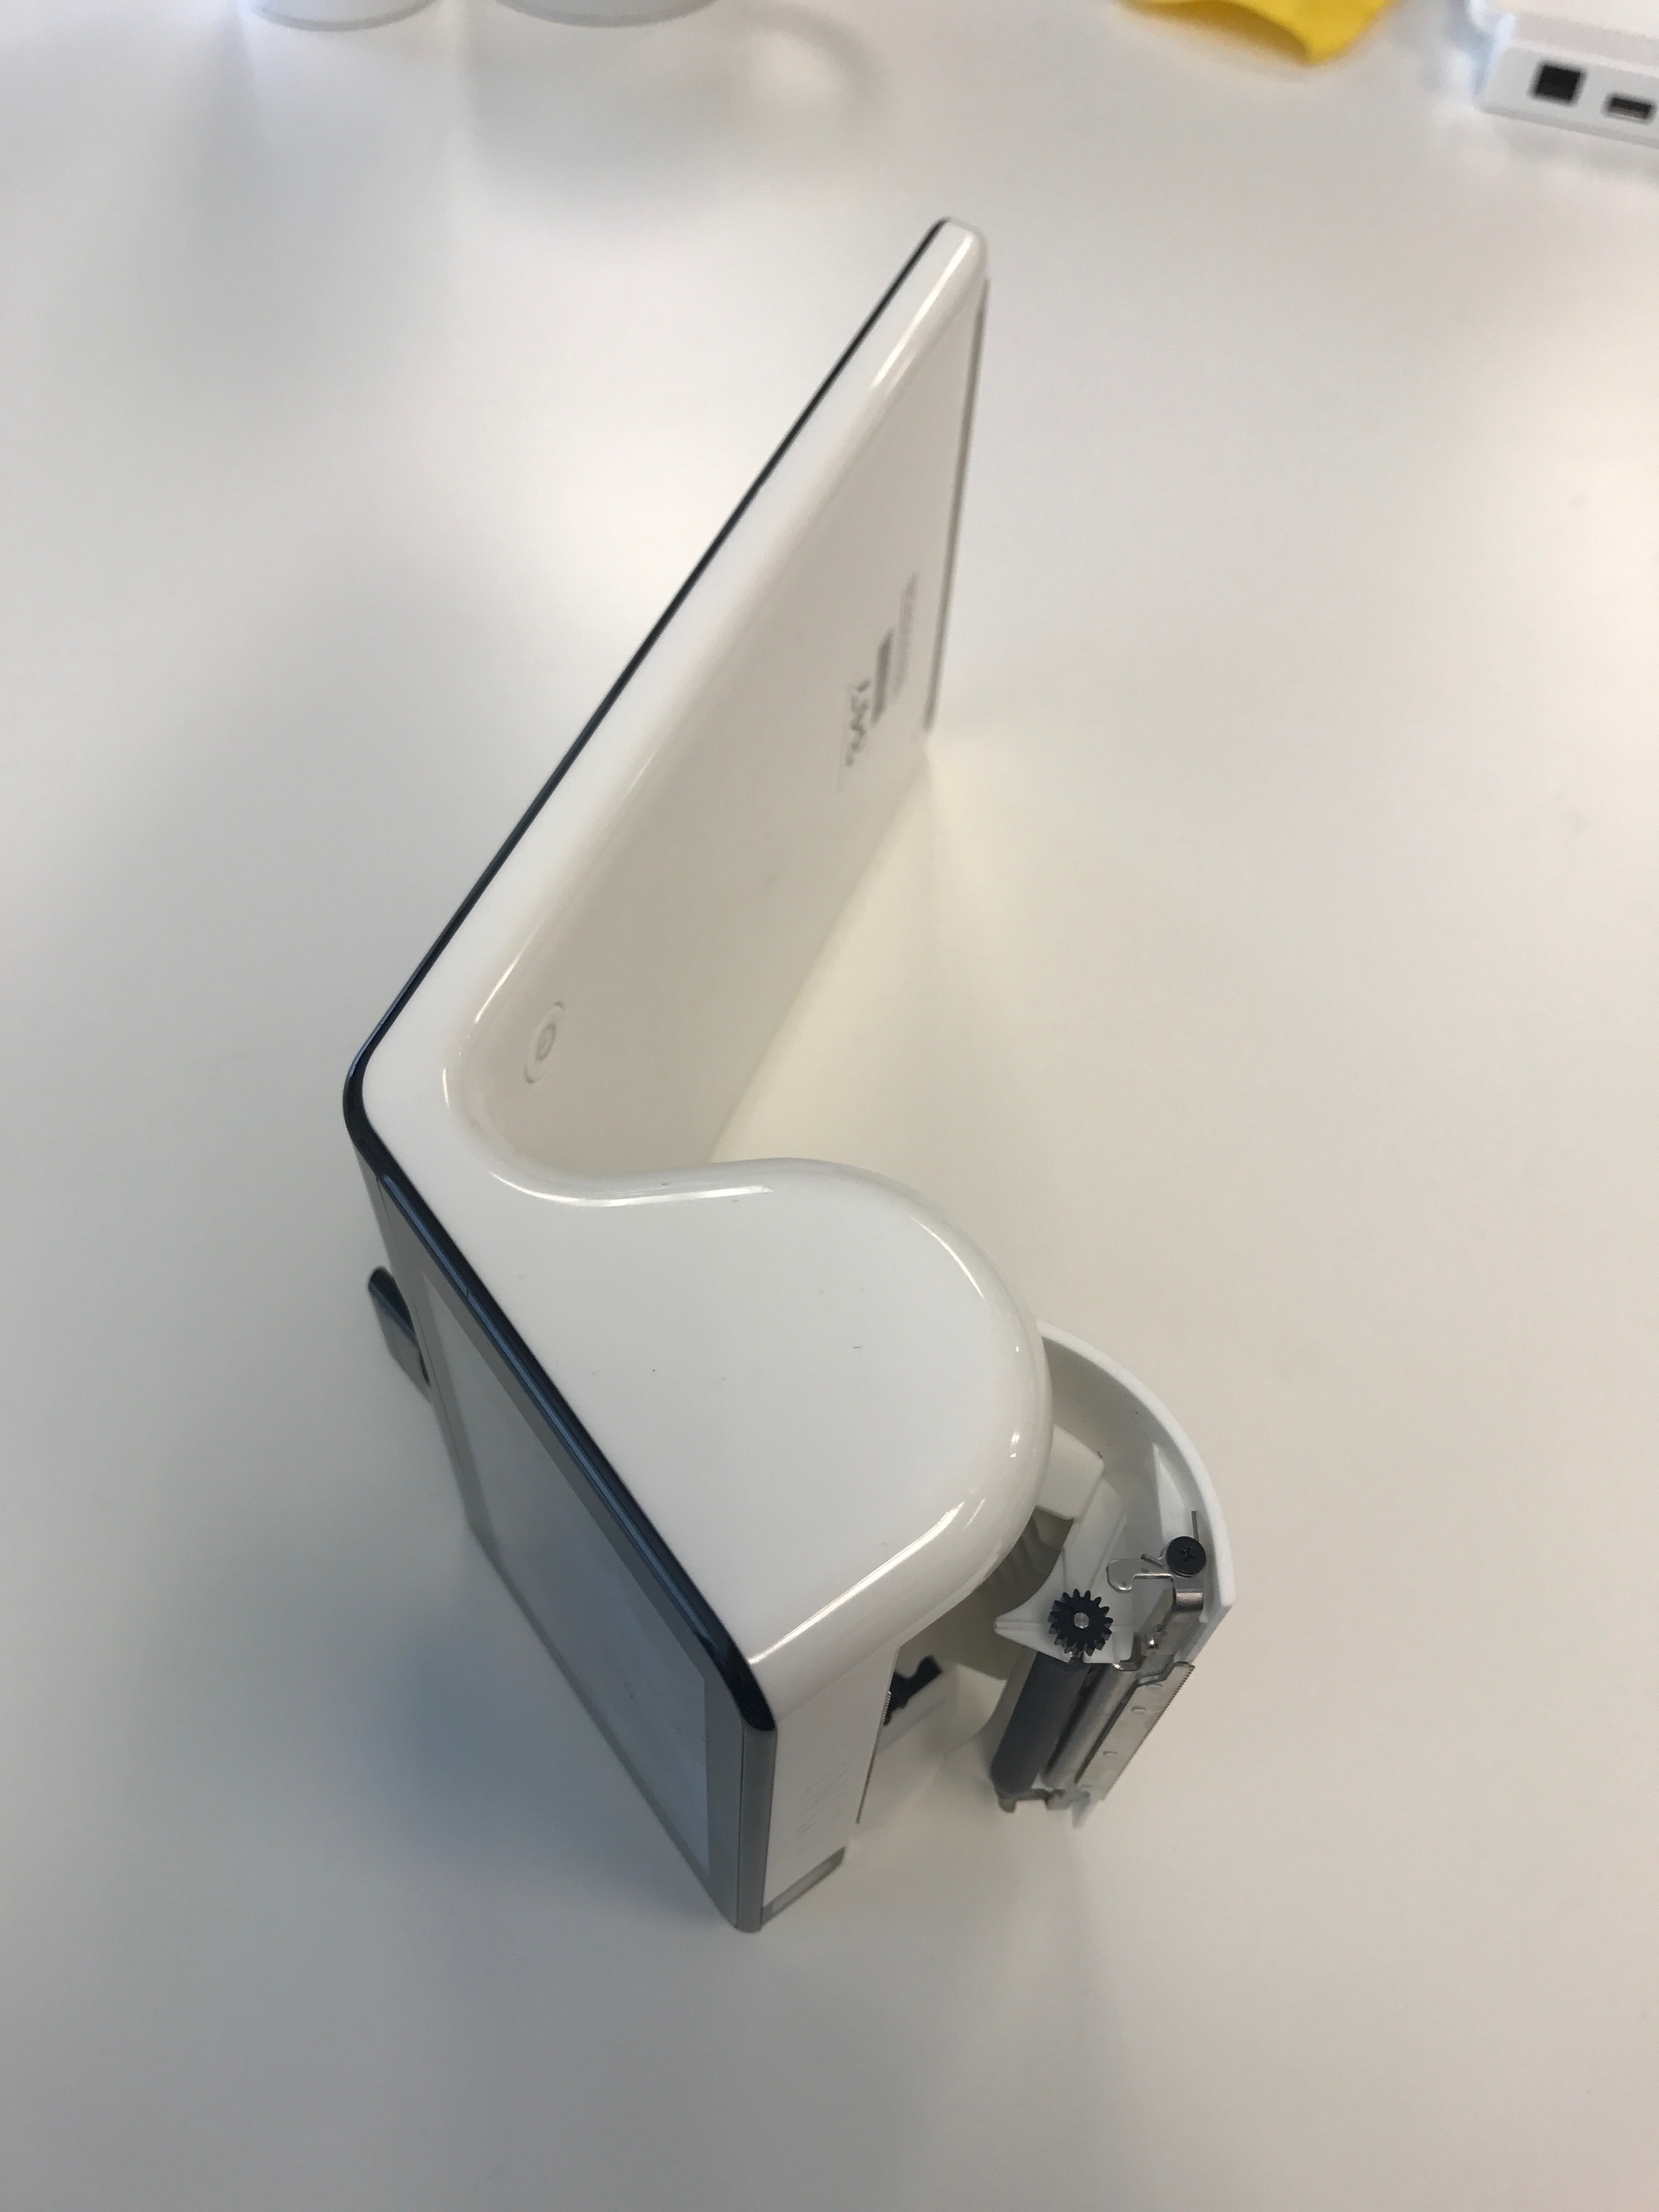
- Some models of Poynt P61s will have two card slots - one for an SD card and one for your SIM card. The SIM card goes into the longer slot. The correct slot is also indicated below (left).
Some other models P61s just have a SIM card slot (right). This one has a push-in-bounce-out mechanism so you may not need tweezers to remove the SIM card.
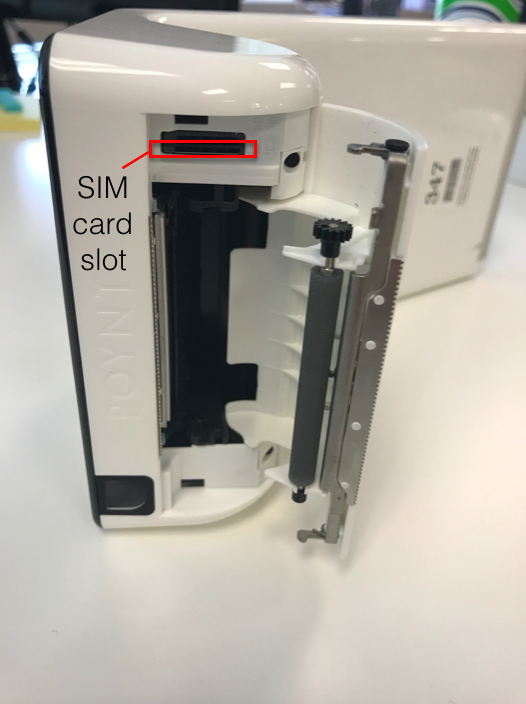
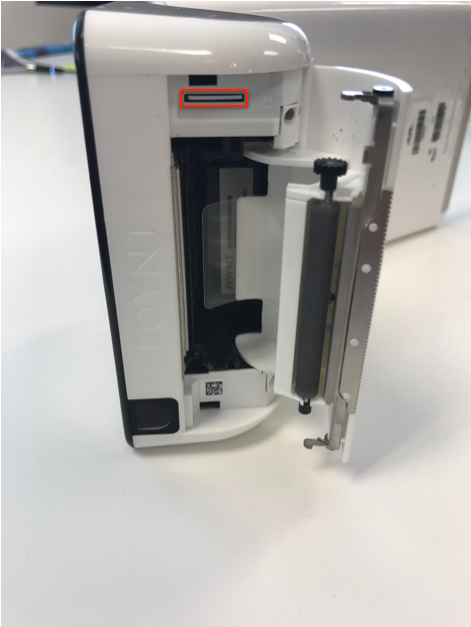
- When inserting the SIM Card, make sure the notch on the SIM card is oriented so the upper right is inserted first with the gold contacts face up.
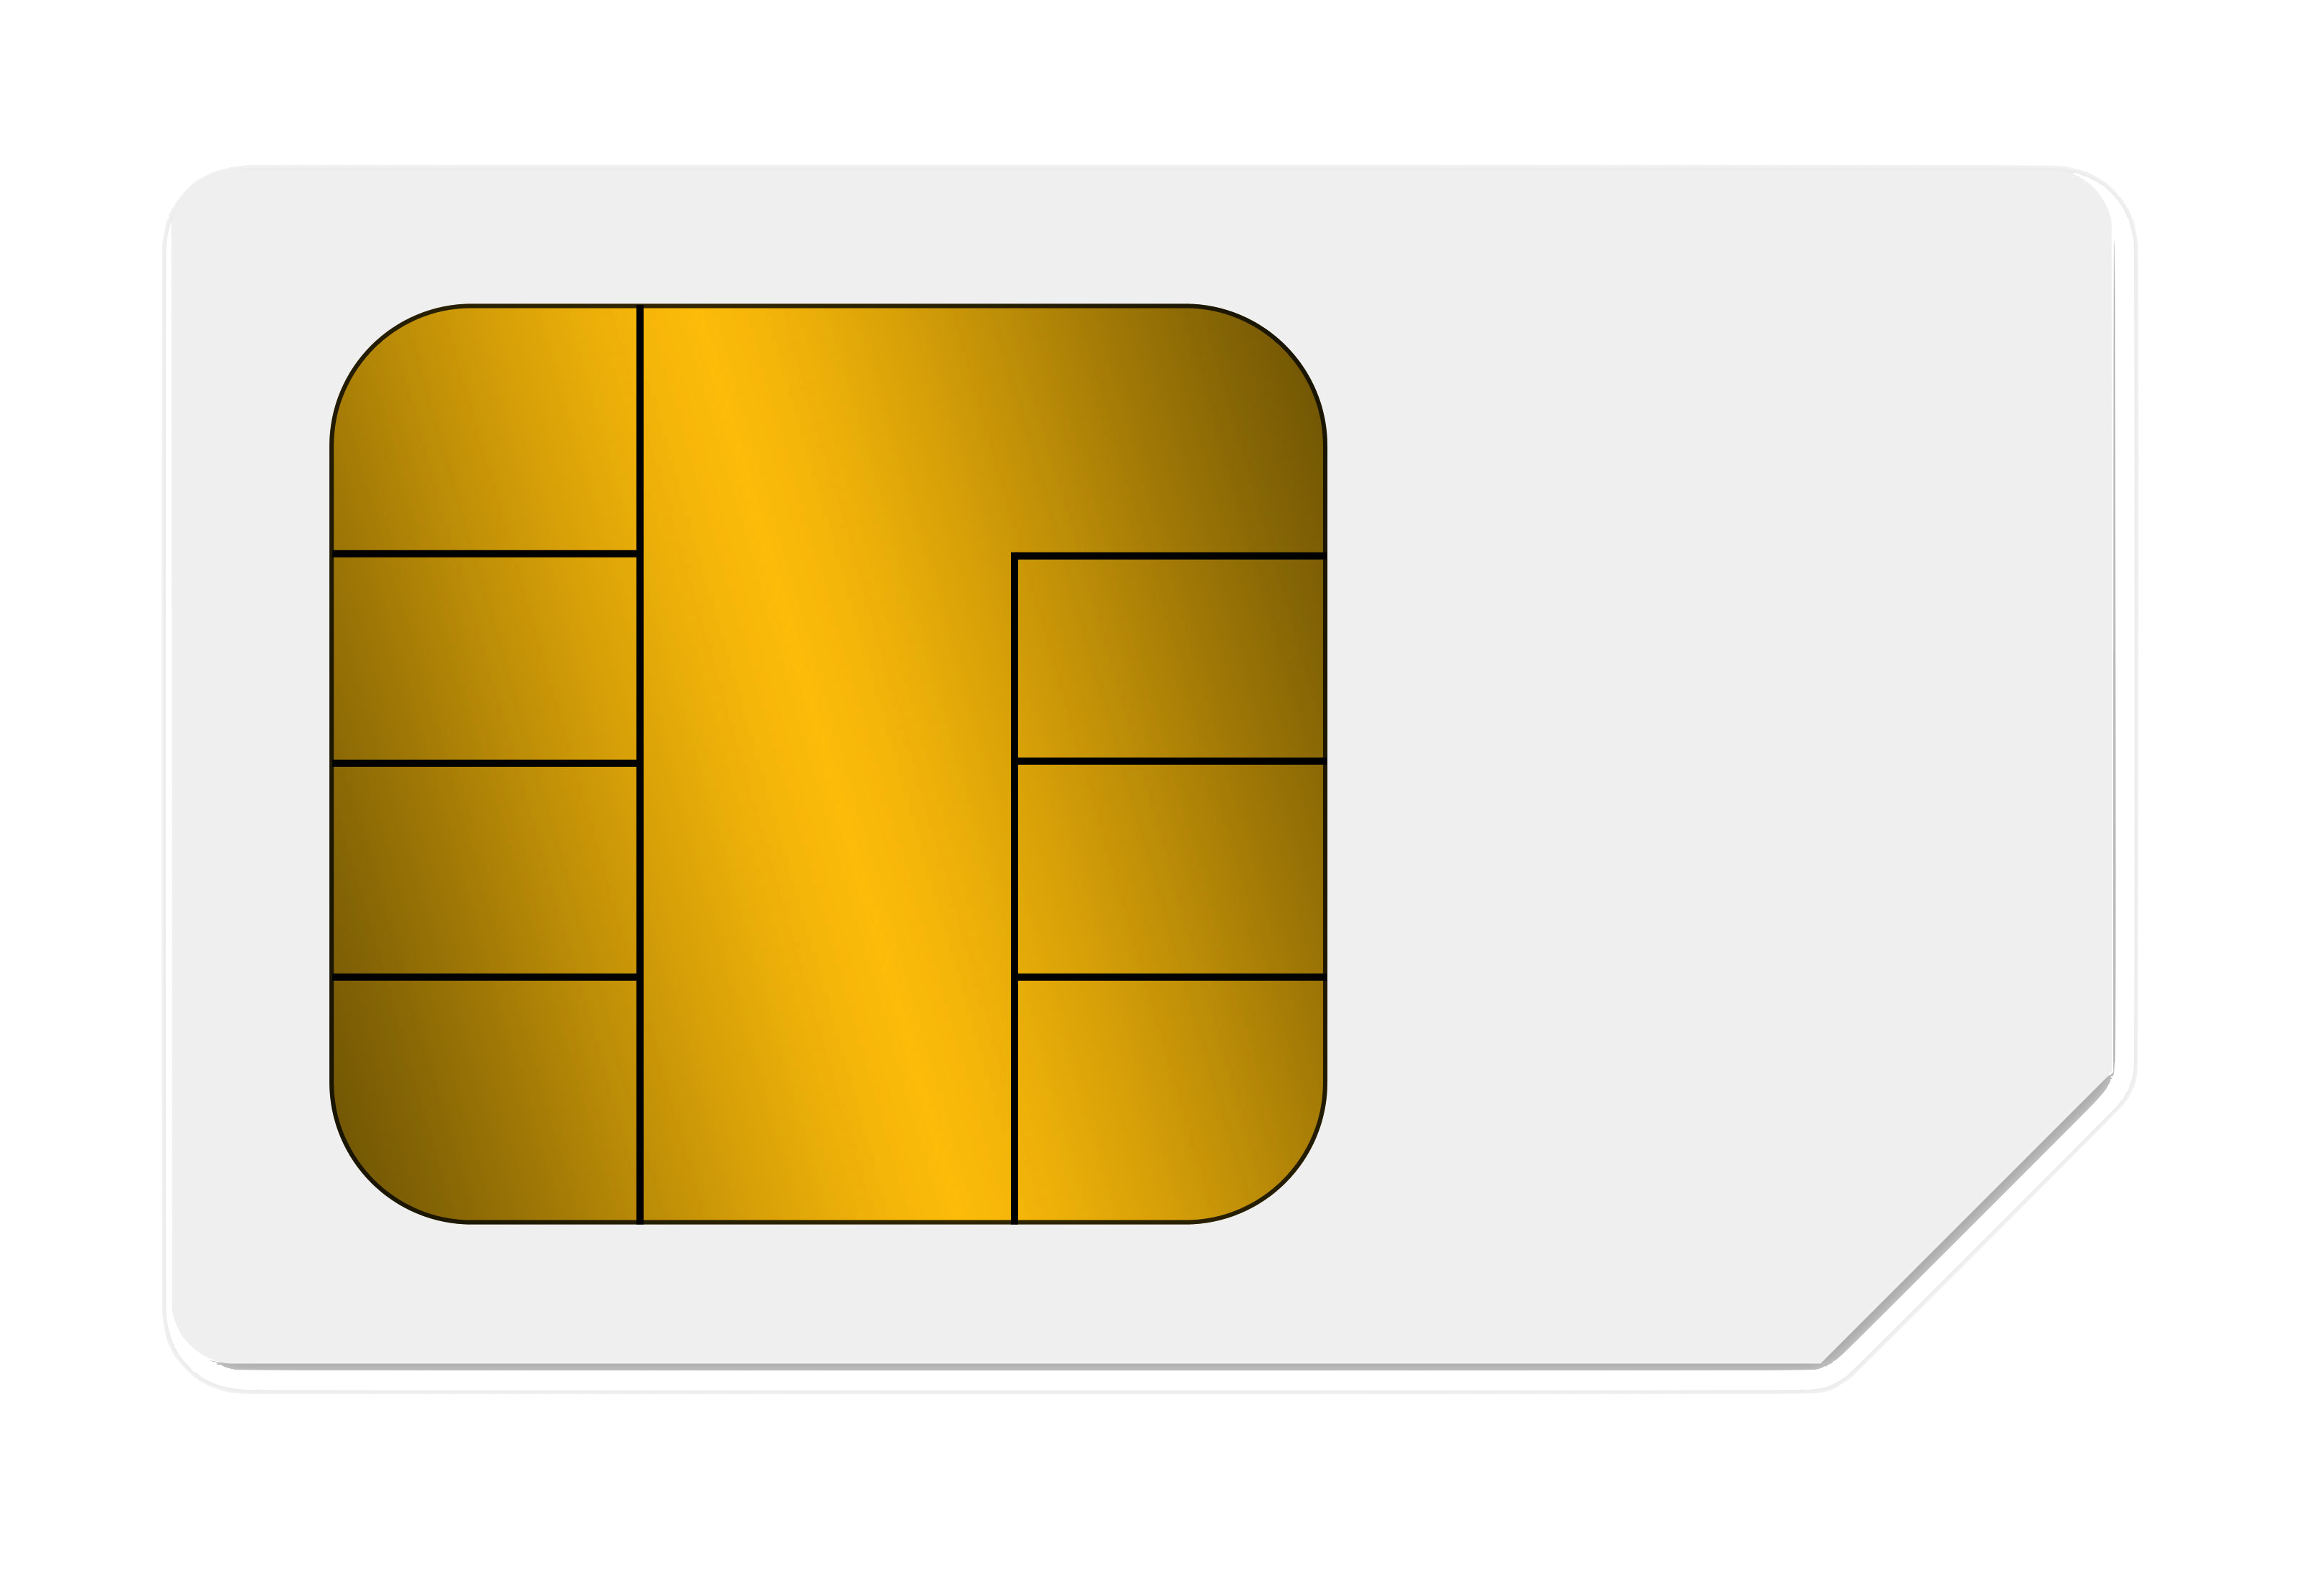
Make sure to not damage the connector pins in the slot. Gently push the SIM Card all the way into the slot.
- When removing the SIM card in the older P61s (pictured above left), you’ll need sharp needle-nose tweezers to carefully pull the card out. They do not have a push-in-bounce-out mechanism. Be careful to not damage the connector pins inside the slot.
For larger cellular providers like AT&T or T-Mobile, the terminal may connect automatically at this point. If using FreedomPOP provided SIMs, please continue to Configuring the Mobile Network below.
Configuring the mobile network
Your mobile network can be configured during activation or following activation from the 3G section of the slide-down menu. After inserting your SIM, some 3G connections will establish automatically. You’ll also want to configure your WiFi connection as a fallback in the case that your 3G connection drops.
Step 1: Swipe-down on your Smart Terminal’s screen (from any open application) to access the Settings and Notification menu. Swipe across and tap on the Mobile Network icon.
Step 2: Once you have the Mobile Network screen open, select Mobile Networks to modify any necessary settings. Then, select Access Point Names.
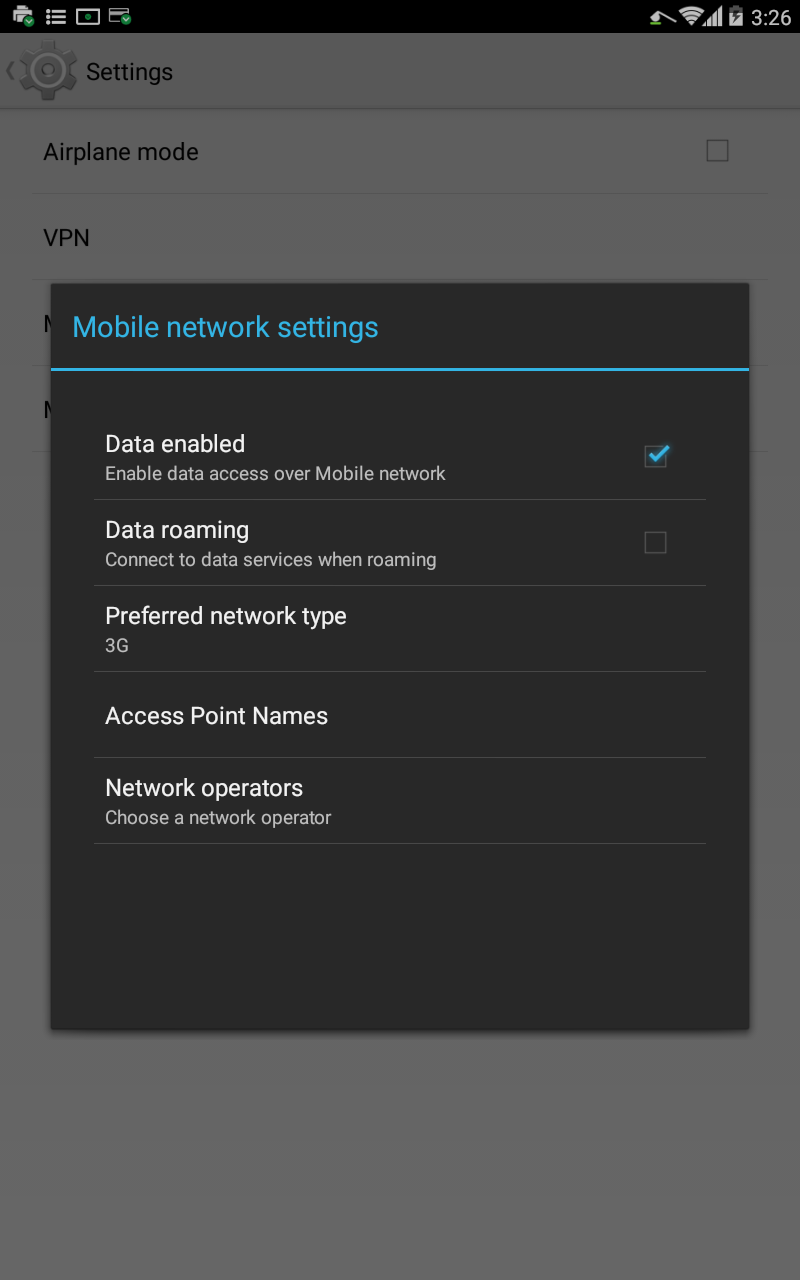
Step 3: Tap Access Point Names and select your APN from the list. If your APN does not appear, continue to Step 4.

Common APNs
| Reseller Organization | Known APN |
|---|---|
| Elavon | EQUINOXPAYMENTS.COM.ATTZ |
| FreedomPop | freedompop.foggmobile.com |
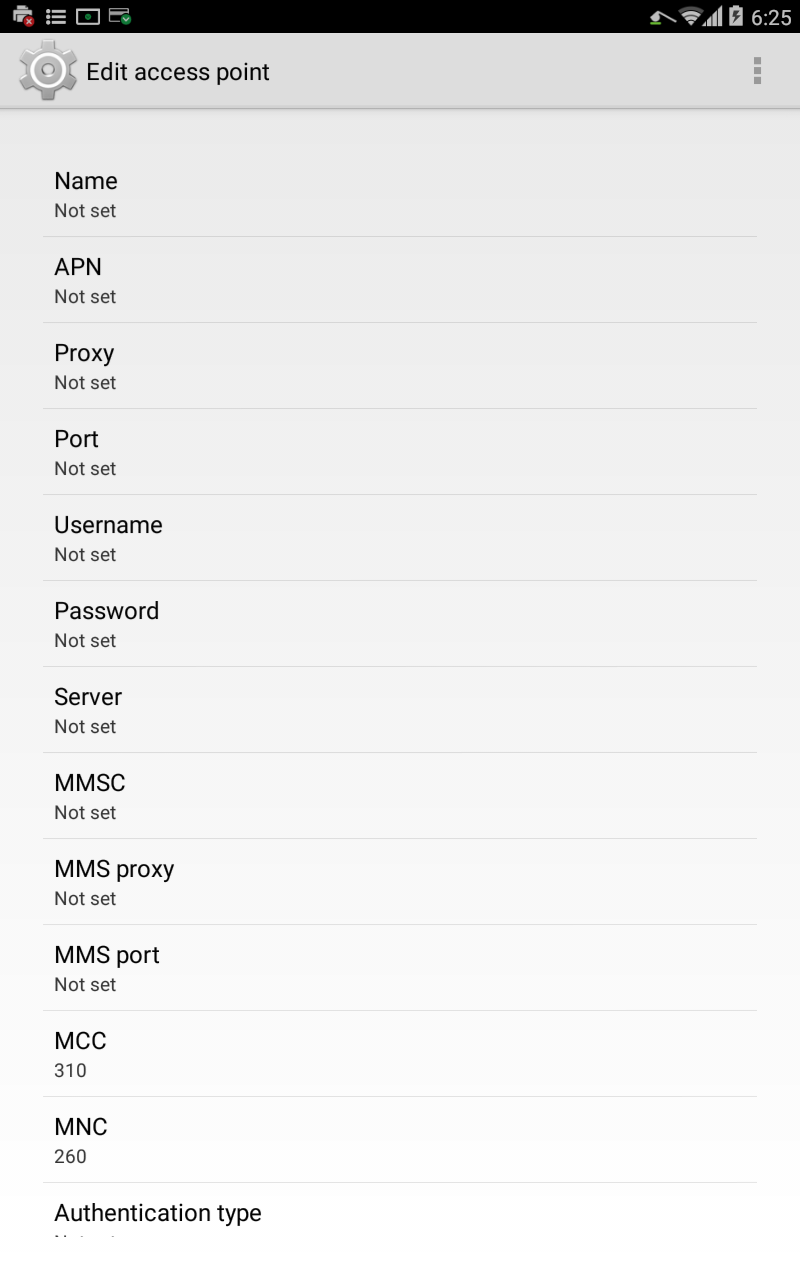
Step 4: If your APN does not appear in this list, you may enter it manually. Please reach out to your cellular provider or the organization from which you purchased the SIM to determine the APN. To enter the APN manually, select the plus sign and then “APN”.

Once step 4 is complete, you may return to normal by swiping down on your screen and accessing Home from your swipe-down menu.
Confirming connection:
After the reboot, you should see the icon at the top right showing your Poynt terminal connected to the cell network. If you only see the 4 bars, this means your device has no signal.

Signal indicators in the 4-bar icon:
-
H indicates the fastest/strongest signal
-
3G is standard
-
E is slower signal
NOTE: The system will use WiFi if there is a WiFi network available. You may have to disable WiFi to force a cellular connection.